

Guide · Photograph your jewellery
How to prepare jewellery for a professional photography shoot
Choose and organise your jewellery samples, identify delicate pieces and check everything before delivery.
Choose representative samples, check their condition, label each piece to match your brief and include the required fittings. Follow the maker’s care instructions and flag handling or retouching concerns before sending.
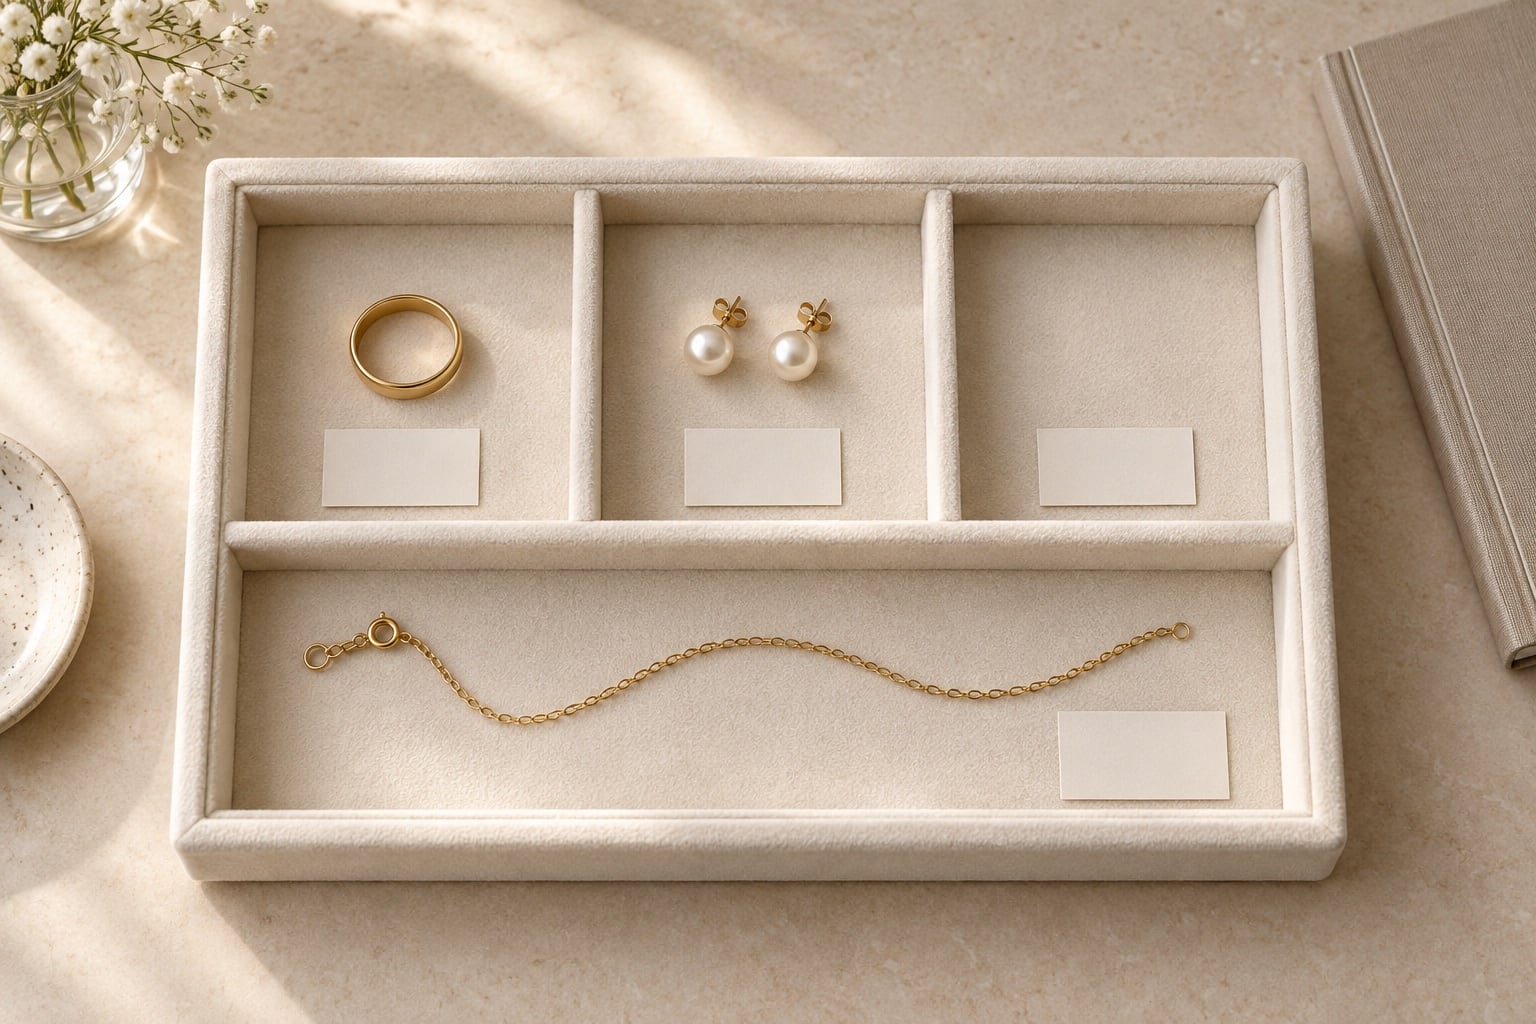
Choose samples that represent the collection you sell
Preparing jewellery for a professional photography shoot starts with the pieces themselves. Choose samples with the correct metal finish, stones, clasps and fittings. If a prototype differs from the version customers will receive, explain the differences before booking the work.
Check each piece under good light before packing it. Look for visible marks, bent fittings, missing stones and incomplete pairs. Flag anything you are unsure about rather than assuming it can be corrected in the photograph. Replacing a damaged sample may give a more faithful result than asking for extensive retouching.
For a collection with several finishes or gemstone options, identify exactly which versions you are supplying. Our guide to photographing jewellery variants explains how to plan those differences in the brief.
Follow the care instructions for each piece
There is no single cleaning method suitable for every piece of jewellery. Follow the maker’s care instructions and tell the studio about coatings, delicate settings, glued components or other handling restrictions. If you do not know how a piece should be cleaned, check with its supplier before treating it.
Avoid experimenting with polishing compounds, soaking or cleaning equipment just to prepare for photography. The aim is to present the actual finish accurately, including deliberate texture and patina. Let David know if a mark is part of the design rather than something to remove.
Separate pieces after checking them so they do not rub together. If a chain is tangled or a fitting feels loose, flag it before sending rather than forcing it into position.
Match every piece to a product reference
Use the same product code on your contents list, photography brief and individual packaging. Two rings that look similar at first glance may have different stone sizes or finishes, so include a short description as well as the code.
Put identification on the protective packaging or a separate card, rather than sticking a label to the jewellery. Keep pairs together and say whether an item is sold individually, as a pair or as part of a set.
- Product reference: the code you use in your shop or stock list.
- Piece and variant: for example, a silver pendant with a blue stone.
- Quantity supplied: one pendant, one chain and one presentation box.
- Photographs required: the agreed views or the matching shot-list reference.
- Handling notes: anything the studio needs to know before unpacking or positioning it.
Send the list digitally and include a copy with the items. For example, “P014 – blue-stone silver pendant with chain – front and angled view – supplied box for packing only” removes uncertainty about both the item and its packaging.
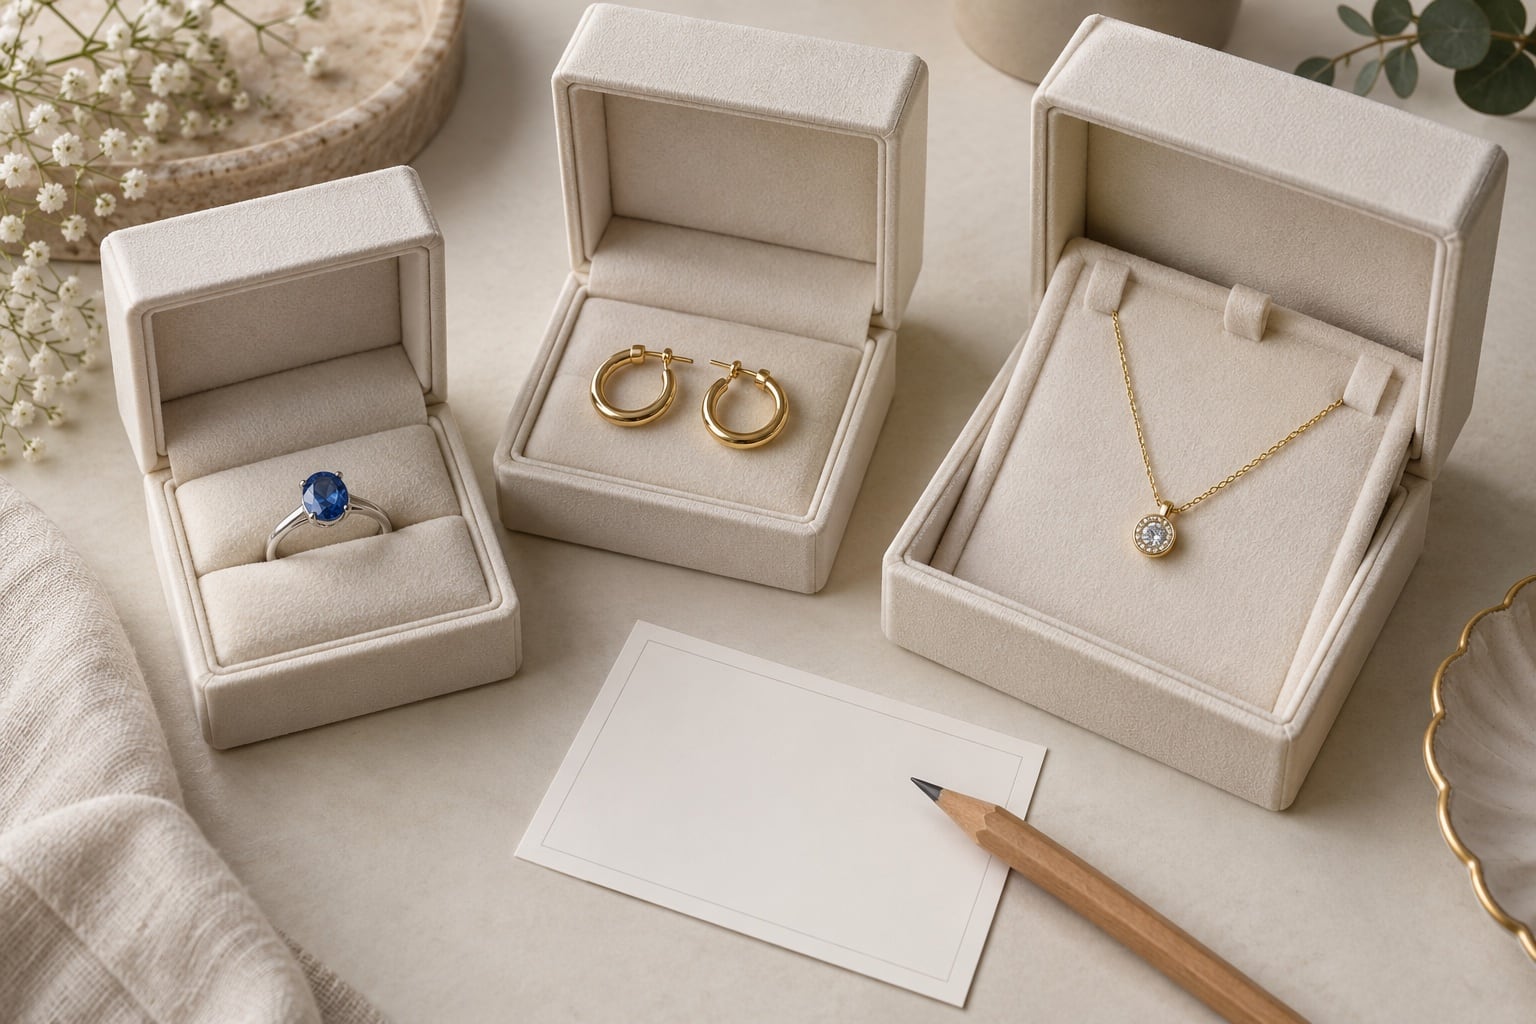
Include the fittings and presentation pieces the images need
Check the agreed shot list against the contents of the parcel. Include earring backs, chains, removable charms or other parts needed to show the product as sold. Identify any supplied stands or props separately so they are not mistaken for part of the purchase.
If you want a photograph with a presentation box, send the correct box and insert in good condition. Make clear which packaging should appear in the images and which is there only for protection.
Keep matching sets together in the inventory even when you protect their components separately. Our jewellery photography shot-list guide helps you decide which views to request; this preparation check makes sure the studio has the pieces needed to produce them.
Agree what retouching should address
Tell the studio about visible sample issues before the shoot. A temporary handling mark and a permanent design feature need different treatment. Do not assume that a damaged setting, missing component or incorrect finish can simply be made right afterwards.
Discuss any proposed correction against the product you actually sell. Stone shape, metal texture, hallmarks and the construction of the piece should remain faithful. Read our jewellery photo retouching guide for the distinction between cleaning up distractions and changing the product.
If you have existing collection photographs to match, send the original image files where available and identify which details should stay consistent. David uses previous images as references and layers them in Photoshop to help align new photographs with the existing range.
Make a final check before delivery
- Every supplied piece matches the product and variant in the brief.
- Pairs, sets, clasps, backs and other required components are complete.
- Visible sample issues and handling restrictions are noted.
- Individual packaging is labelled with the correct product reference.
- Jewellery is protected so pieces cannot rub together or move freely.
- Your contents list, contact details and agreed image requirements are included.
- Any presentation packaging required in the photographs is identified.
Arrange a date and time with David if you are dropping items off at the Loughton studio. Courier deliveries do not need an appointment, but it is preferable to let him know when they are expected. You can arrange return collection or include a return label. See our studio delivery guide for the full arrangements.
Ready to plan your collection? Explore our jewellery photography service and send David your product list and a few reference photographs. Mention any sample concerns at the enquiry stage so they can be discussed before the pieces arrive.
Service information and further reading
Preparing a collection for photography?
Send David your product list and reference photographs, along with any sample or handling concerns.