

Guide · Photograph your jewellery
Which photographs does your jewellery collection need?
Plan the angles, finish and fine details before sending your collection to the studio.
Start with a clear main view of each piece, then add details that explain its setting, fastening or construction. Agree how metal, stones and texture should look, and identify views that may need focus stacking.
Commission views that explain the piece
Jewellery photographs need to communicate shape, surface and construction at a size that works on a product page. A striking front view may still leave a customer unsure about a fastening, the depth of a setting or whether a pair of earrings matches.
Start with a consistent main view for each piece. Add further views when they reveal information that the main image cannot. A ring, a fine chain and a pair of drop earrings do not necessarily need the same set of photographs.
| Piece | Useful detail to consider |
|---|---|
| Ring | Main three-quarter view, side profile of the setting, detail of the band |
| Earrings | Pair together, fastening or reverse, close-up of a distinctive stone or finish |
| Necklace | Overall shape, pendant detail, clasp or adjustable chain where relevant |
| Bracelet | Overall form, clasp, link or surface detail |
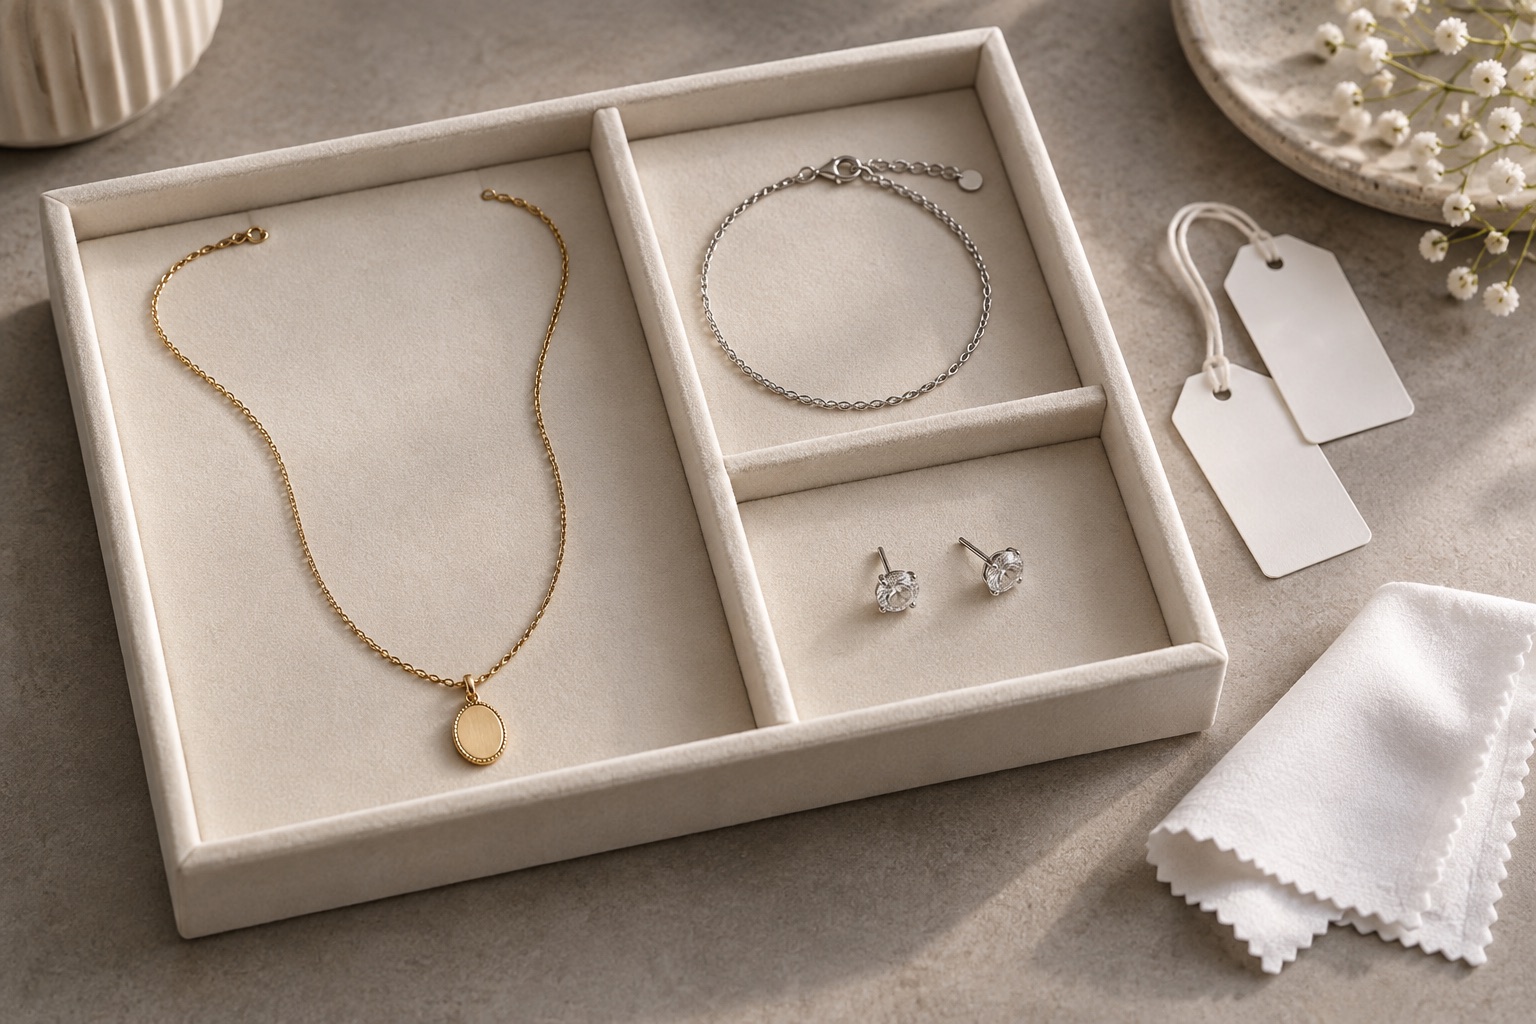
| Gift set | Actual contents together, with packaging shown only when included or clearly explained |
These are prompts for a brief, not a requirement to commission every view. Add accurate measurements to your product information; a close-up does not establish an item’s size.
Agree how the metal and stones should look
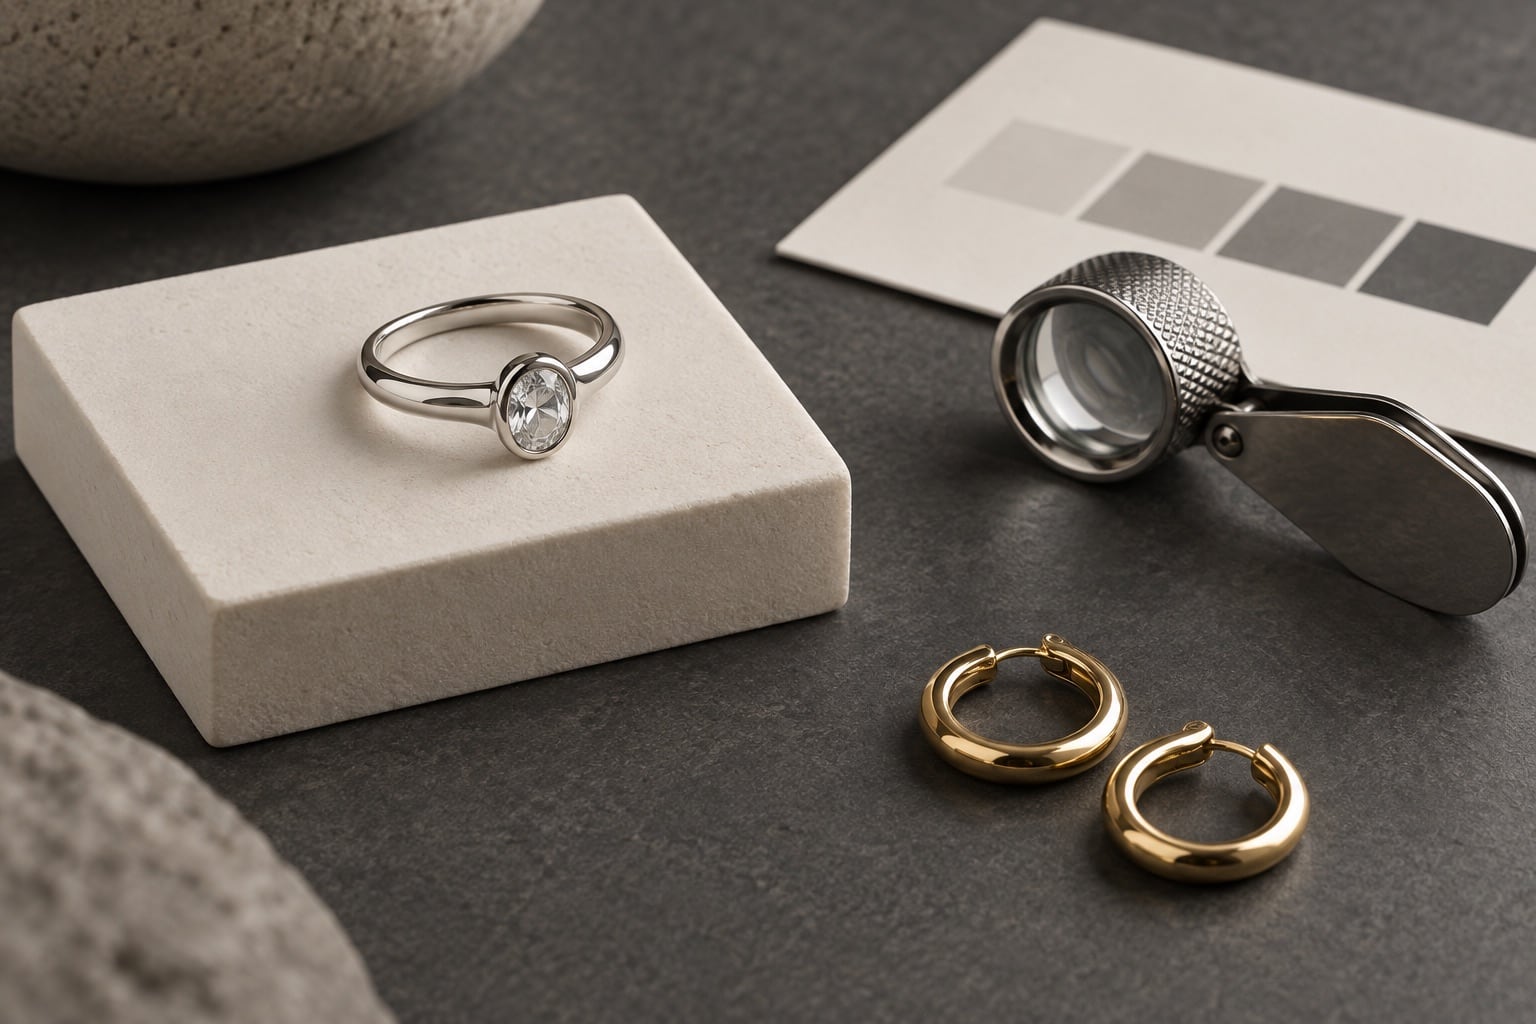
Polished metal reflects its surroundings. The bright and dark areas in a jewellery photograph help describe its curves, so removing every reflection can leave it looking flat. Use examples to discuss the balance of shine, shape and detail you want.
Describe the real finish: highly polished, brushed, hammered, oxidised or textured. Ask that the finish remains recognisable in the final image. Gemstone colour and surface detail also need careful treatment; “make it sparkle” is not a complete colour or retouching brief.
Our jewellery photography gallery lets you compare different pieces and lighting treatments. Choose references with a similar material or shape and explain the aspect you want to match.
Decide where sharp detail matters
At close range, a jewellery piece can extend beyond the area that appears sharp in a single capture. Focus stacking combines captures focused at different distances to show more of the piece in focus. It can be useful for a detailed product view, while a deliberately softer background may suit a styled image.
Specify which features must be clear: the face of the stone, the setting, the whole band or an engraving. Ask the photographer whether stacking is appropriate for that view and confirm its cost. Our prices page lists stacked jewellery images separately.
There is no need to request the same technique for every photograph. The decision should follow what the customer needs to inspect and the finish you have agreed.
Set a clear retouching boundary
Separate temporary distractions from features of the product. Dust and fingerprints can distract from a piece; a handmade texture or deliberate patina may be part of what someone is buying. Mark these distinctions in the brief.
Provide clean, representative samples and identify any damage that should not appear in the photograph. If the sample differs from the item customers will receive, discuss that before photography rather than using a vague instruction to “perfect” it afterwards.
For a collection, agree the background, shadow and framing together. Similar margins and orientation make the product grid coherent, while appropriate lighting still allows each material to look like itself.
Prepare and label the collection
- Give each piece a unique reference that matches your product list
- Keep pairs and components together, with notes on how they should be arranged
- Include the required angles, metal and stone descriptions, and colour variants
- Flag fragile parts, specialist handling needs and anything the studio must not adjust
- Agree delivery, return arrangements and any relevant cover before sending valuable items
The studio is in Loughton, Essex. Contact us about your collection before arranging a delivery or drop-off. Send the number of pieces, a few reference photographs, the views you need and your deadline. We can then discuss a quote based on the actual work.
Service information and further reading
Discuss your jewellery collection
Send the number of pieces, reference photographs, required views and your deadline.