
Choose a studio drop-off or courier delivery
You can bring your products to our studio in Loughton, Essex, or send them by courier. Choose the option that suits your location, the size of the consignment and how you want the products returned after photography.
| How your products arrive | What to arrange |
|---|---|
| You drop them off | Agree a date and time with David before coming to the studio. |
| You send a courier | No delivery appointment is required. It is preferable to let David know when the parcel is expected. |
| Products need returning | You can arrange courier collection or include a return label. Discuss the return arrangements with the studio. |
For an in-person drop-off, contact the studio to agree your visit. Use the studio’s current contact details when planning your journey or addressing a parcel.
Send the samples you want customers to see
Check the products before packing. Choose clean samples with the correct finish, current labels and complete packaging where it needs to appear in the photographs. Look closely at corners, lids and surfaces that will be visible in a close-up.
Keep the preparation appropriate to the material. Follow the product’s care instructions rather than experimenting with a cleaner that could mark its surface. If a sample has a scratch, damaged label or other visible issue, mention it before the shoot so it can be discussed.
Include the parts needed for your planned images: lids, straps, stands, presentation boxes or the contents of a gift set, for example. Distinguish items being photographed from props supplied only for styling. Our photography briefing guide explains how to turn those requirements into a shot list.
Pack to protect the finish as well as the product
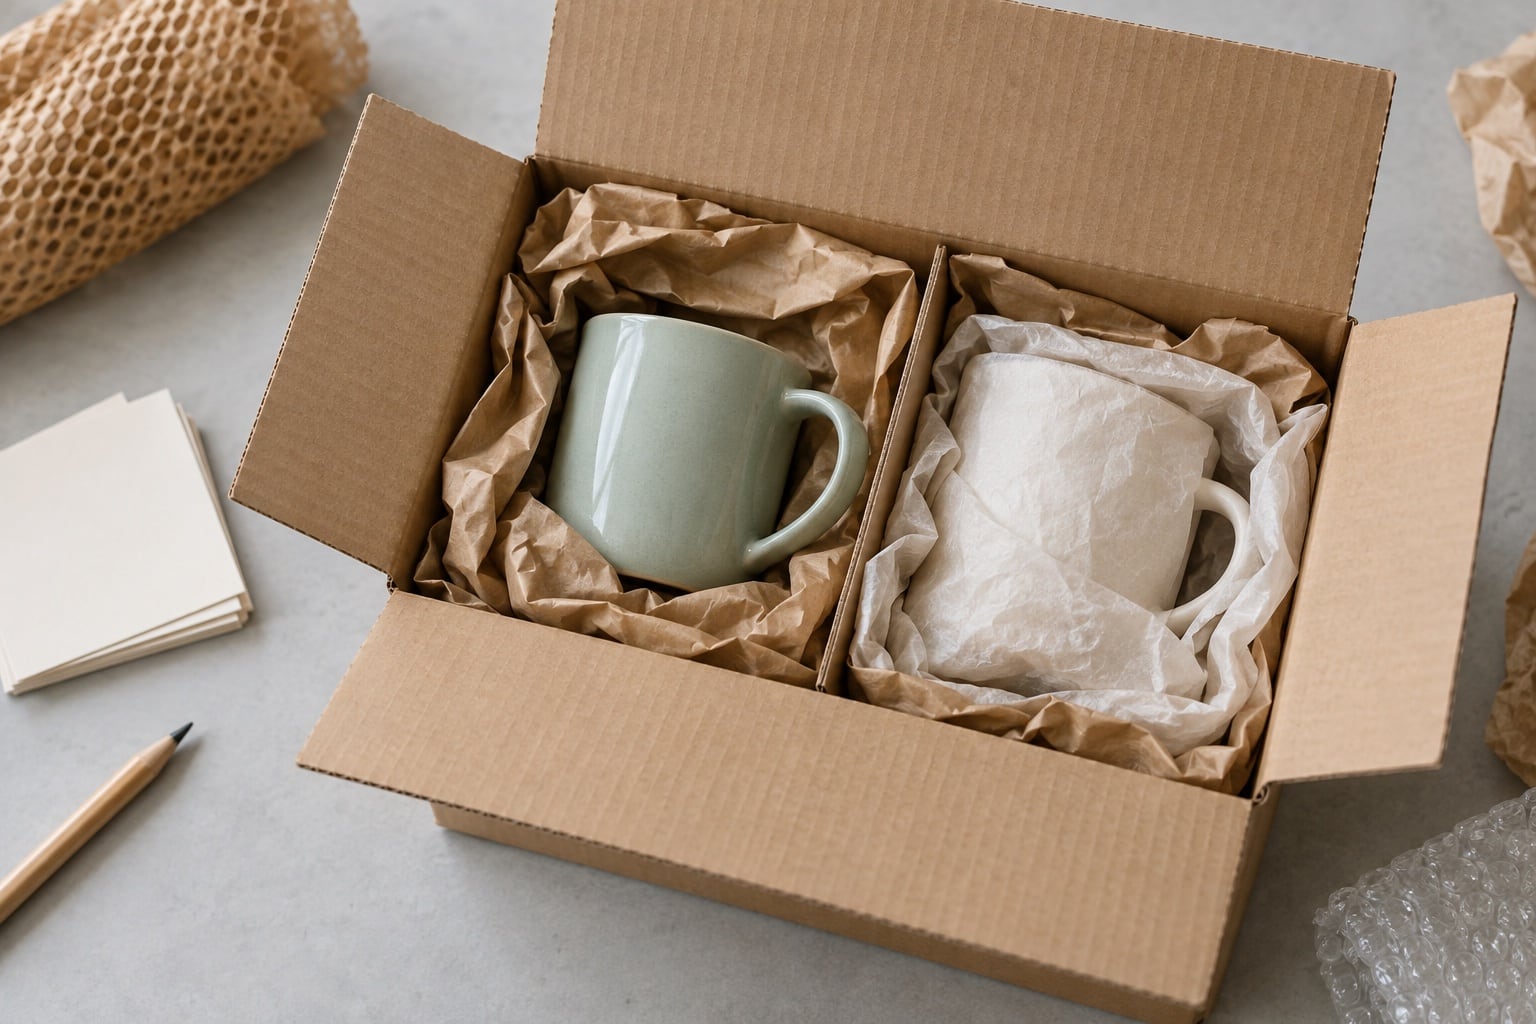
Use a sturdy outer box suited to the products and protect items individually. Separate surfaces that could rub together, cushion fragile parts and fill empty space so the contents cannot shift freely. A product may arrive intact yet still pick up marks that are conspicuous in a photograph.
Protect retail packaging too if it is part of the image brief. Put it inside an outer delivery carton rather than attaching shipping labels or tape directly to the box you want photographed.
Match the packing to the contents and follow your chosen courier’s packing requirements. The illustrations in this guide show the idea of organising a parcel; they are not a packing specification for every material or product.
Make the parcel easy to identify
Include your name, business name, contact details and a simple list of the contents. Use the same product references in that list and your photography brief. Put identifying notes on a bag, tag or protective packaging where possible, rather than adding adhesive labels to a surface being photographed.
If you send several boxes, number them and note which products are in each. This is particularly useful when several similar sizes, colours or finishes are included.
“Our products are on their way. The courier expects to deliver on [date]. There are [number] boxes under [business name]. The tracking reference is [reference], and [a return label is enclosed / we will arrange collection].”
You do not have to book a courier delivery appointment with us, but a message like this helps David know what to expect. Sharing a tracking reference is useful when you have one.
Plan how the products will come back
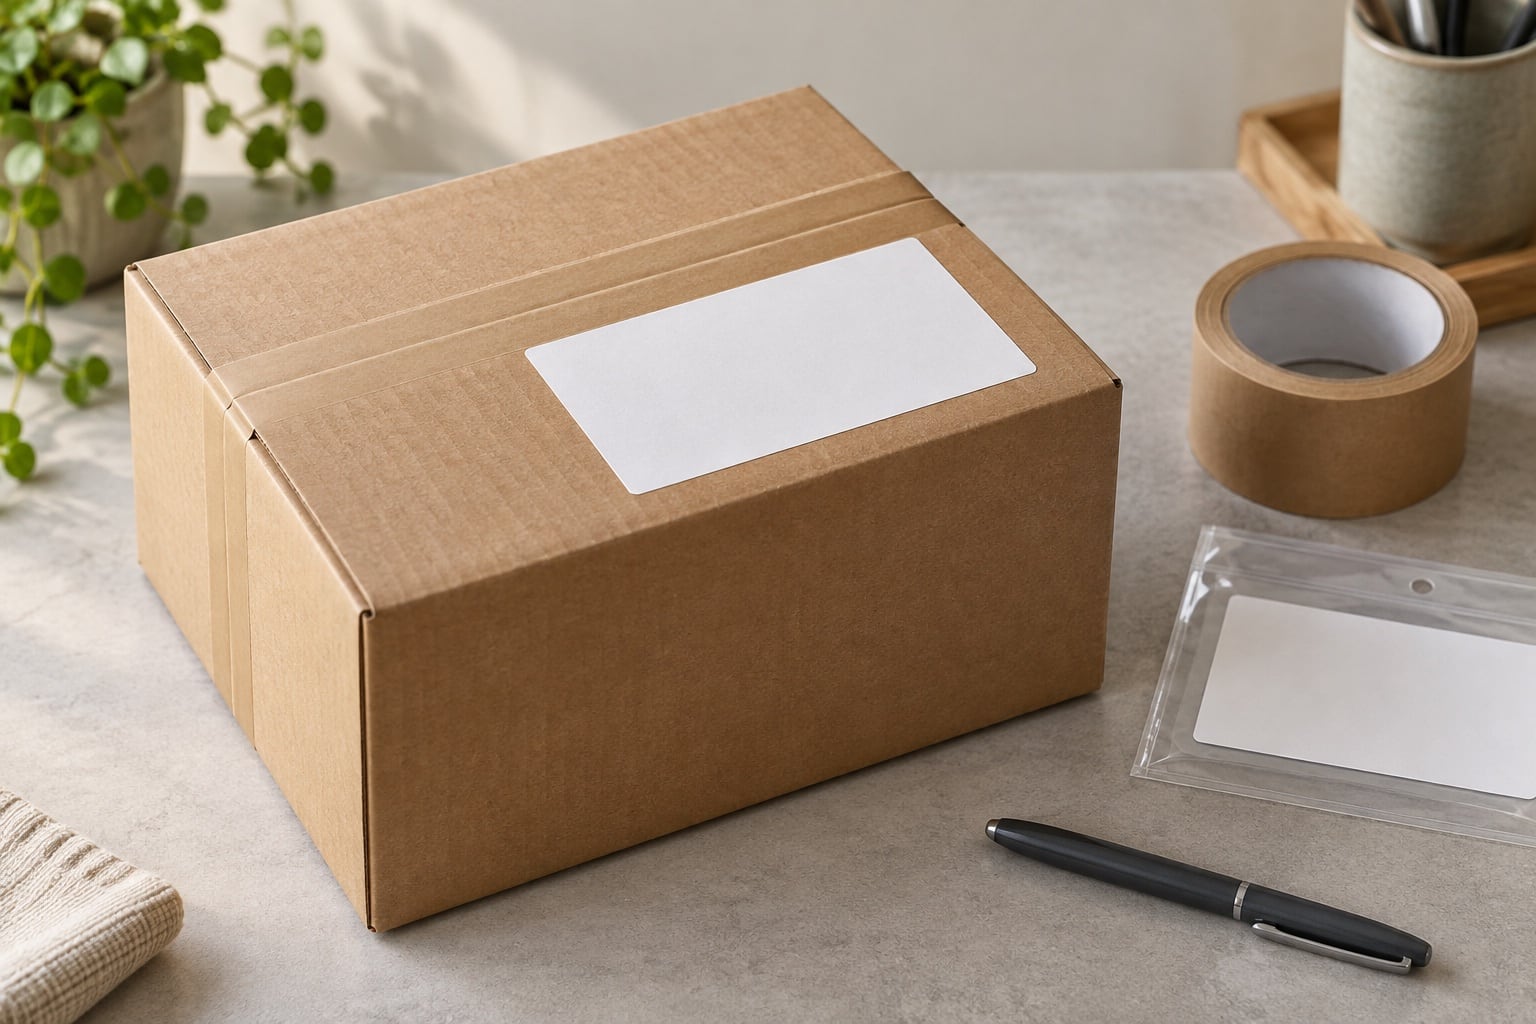
You can arrange a courier to collect your products after the shoot, or include a return label with the delivery. Let the studio know which option you have chosen so the return instructions are clear.
If you include a return label, keep it separate from the outward delivery label and clearly identify it as the return label. Check the return address and the label’s conditions with your courier. If you are booking collection yourself, agree when the parcel will be ready before choosing a collection date.
Flag any packaging or accessories that you need returned with the products. This is especially helpful when presentation boxes or inserts are part of the photographed set.
Your final check before sending
- Correct products, variants and accessories included.
- Samples checked and protected for the journey.
- Contents list and contact details enclosed.
- Product references match your photography brief.
- Studio visit booked if you are dropping off in person.
- Expected arrival shared if you are sending a courier, wherever possible.
- Return label or collection arrangements identified.
Still deciding which samples or views to send? Explore our product photography service and guide to photography quotations, then tell us about the products and images you need.