

Start with where the photographs will be used
A useful product photography brief tells the studio what a successful delivery looks like. Begin with the destination: product pages, a marketplace listing, a printed catalogue or a campaign. A square product tile and a wide homepage banner may need different compositions even when they feature the same item.
Include a link to the website and any specifications supplied by your designer, retailer or marketplace. If you are replacing existing images, identify what already works and what must change. “Keep our current angle, but show the label clearly” gives the photographer a concrete decision to work from.
Ask for the images you need now and flag likely later uses. Agree file dimensions and any required crops before photography; a tightly framed image may not leave room for a future banner headline.
Build a shot list that identifies every view
Give each product a clear reference or SKU and use the same identifier on its packaging and in the brief. Write one line for each required view, or separate columns for a small, consistent set of views. Include genuine colour variants rather than expecting the studio to infer them.
| Product reference | Required image | Key instruction |
|---|---|---|
| CREAM-50 | Main packshot | Front label facing camera; lid fitted |
| CREAM-50 | Open detail | Show the product surface; keep the label visible |
| BALM-15 | Main packshot | Match the cream’s camera height and background |
| SET-01 | Two-product group | Show only the contents supplied in this set |
Add a separate note for props and anything included only for styling. This prevents a collection image accidentally implying that an extra item comes with the purchase. Check the list against your actual saleable products before dispatch.
Explain what you like about your references
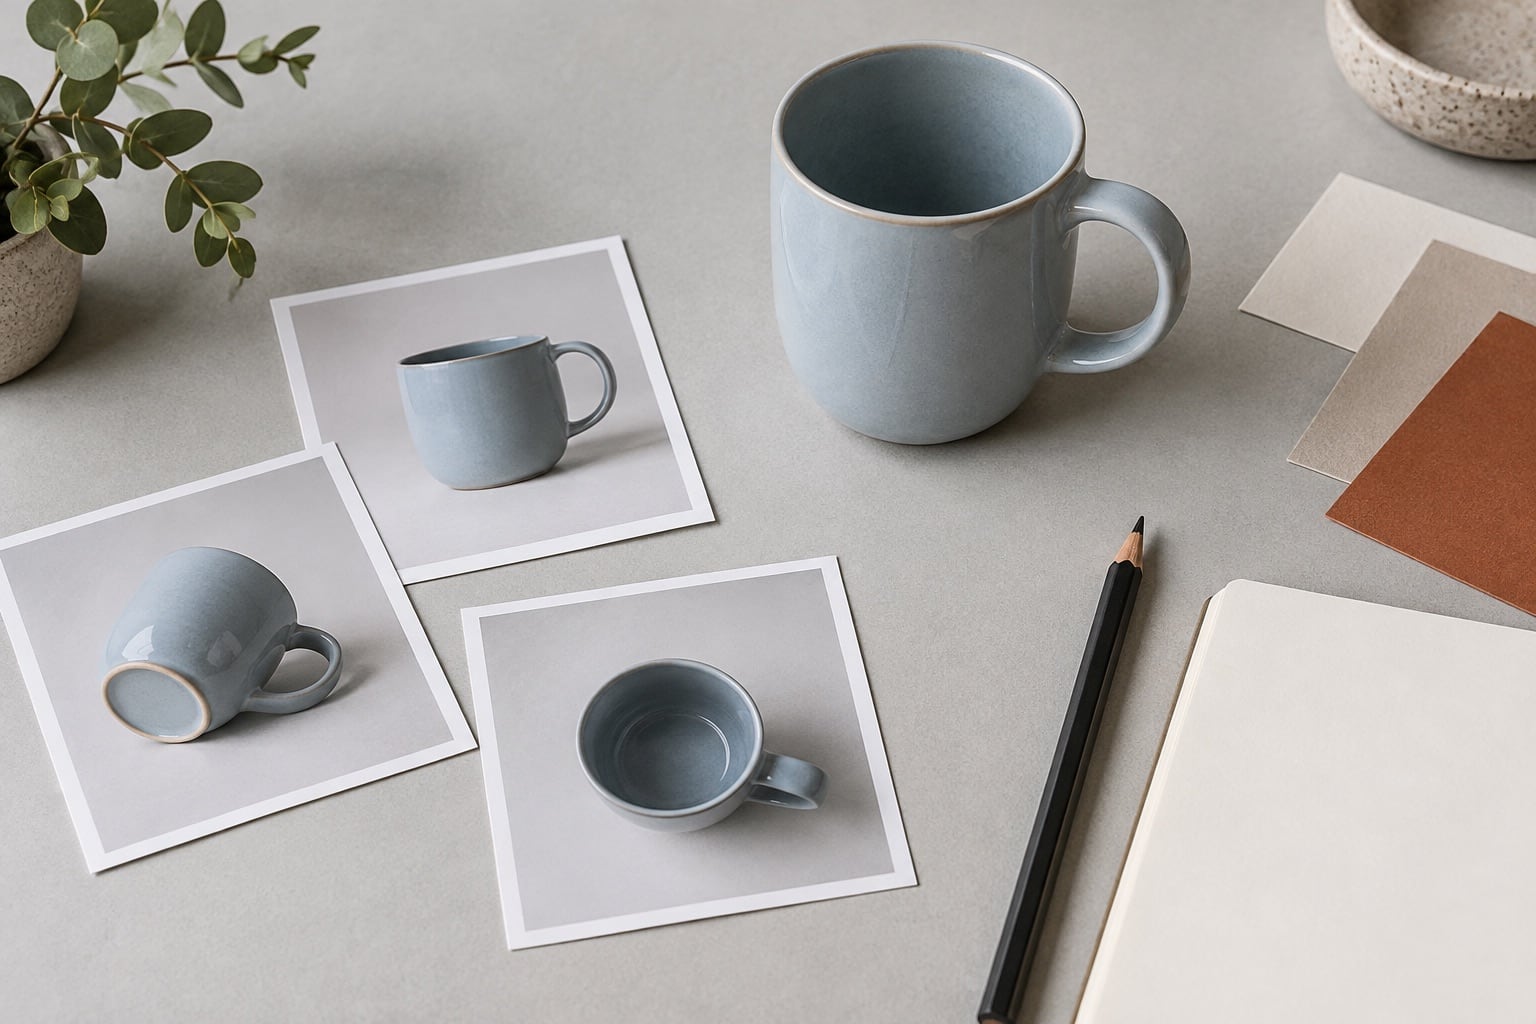
Two or three annotated examples are often more useful than a large mood board with conflicting styles. Point out the camera angle, crop, spacing, background and shadow you want. Use references to describe a direction, not to request a copy of someone else’s photograph.
If the reference uses a product with a different shape or finish, state which feature matters. A matte box and a reflective bottle will not respond to the same lighting in the same way. The studio can propose how to achieve a consistent overall feel without making every material look identical.
For a growing catalogue, nominate one existing image as the reference for product scale and framing. Keep it with the brief so future batches can be assessed against the same example.
Agree the finish and file requirements
- Background: white, a specified colour, transparent or a styled setting
- Retouching: the marks to remove and the texture or handmade characteristics to retain
- Shadow: whether it should remain, be softened or follow an agreed reference
- Output: required file formats, pixel dimensions, crop shapes and naming convention
- Consistency: the view, margins and relative product scale to repeat across the range
Supply a colour reference if colour matching matters, and explain how it will be checked. Do not make the image on an uncalibrated phone the sole reference for a disputed colour. The physical sample and agreed viewing conditions are a more useful starting point.
When a platform has image rules, send the current instructions for your category. A general request for “marketplace ready” leaves too many decisions unresolved.
Prepare the products and agree who approves
Check that the samples match the products you sell. Look for damaged packaging, incorrect labels, missing parts and fingerprints. Pack items securely and include an inventory. Mark anything delicate or difficult to assemble, and agree the studio delivery arrangements first.
Nominate one person to gather feedback from your team. Give the studio the actual launch date and an earlier date for reviewing files. Ask how the review process works, and distinguish a correction to the agreed brief from an additional image or a changed direction.
Our studio FAQs explain that photography is carried out from clients’ briefs and that clients do not attend the shoot. That makes a written brief and clear references especially useful.
Your briefing checklist
Project: what you sell, where the images will appear and your deadline
Products: references, quantities, sizes, variants and handling notes
Photographs: the view list, backgrounds, details and group compositions
Finish: reference images, retouching, shadows and colour requirements
Delivery: formats, dimensions, filenames, review contact and return arrangements
Use this checklist when you contact the studio. You do not need to know the lighting or camera settings. The brief should make your selling requirements clear so we can discuss the photography needed to meet them.