
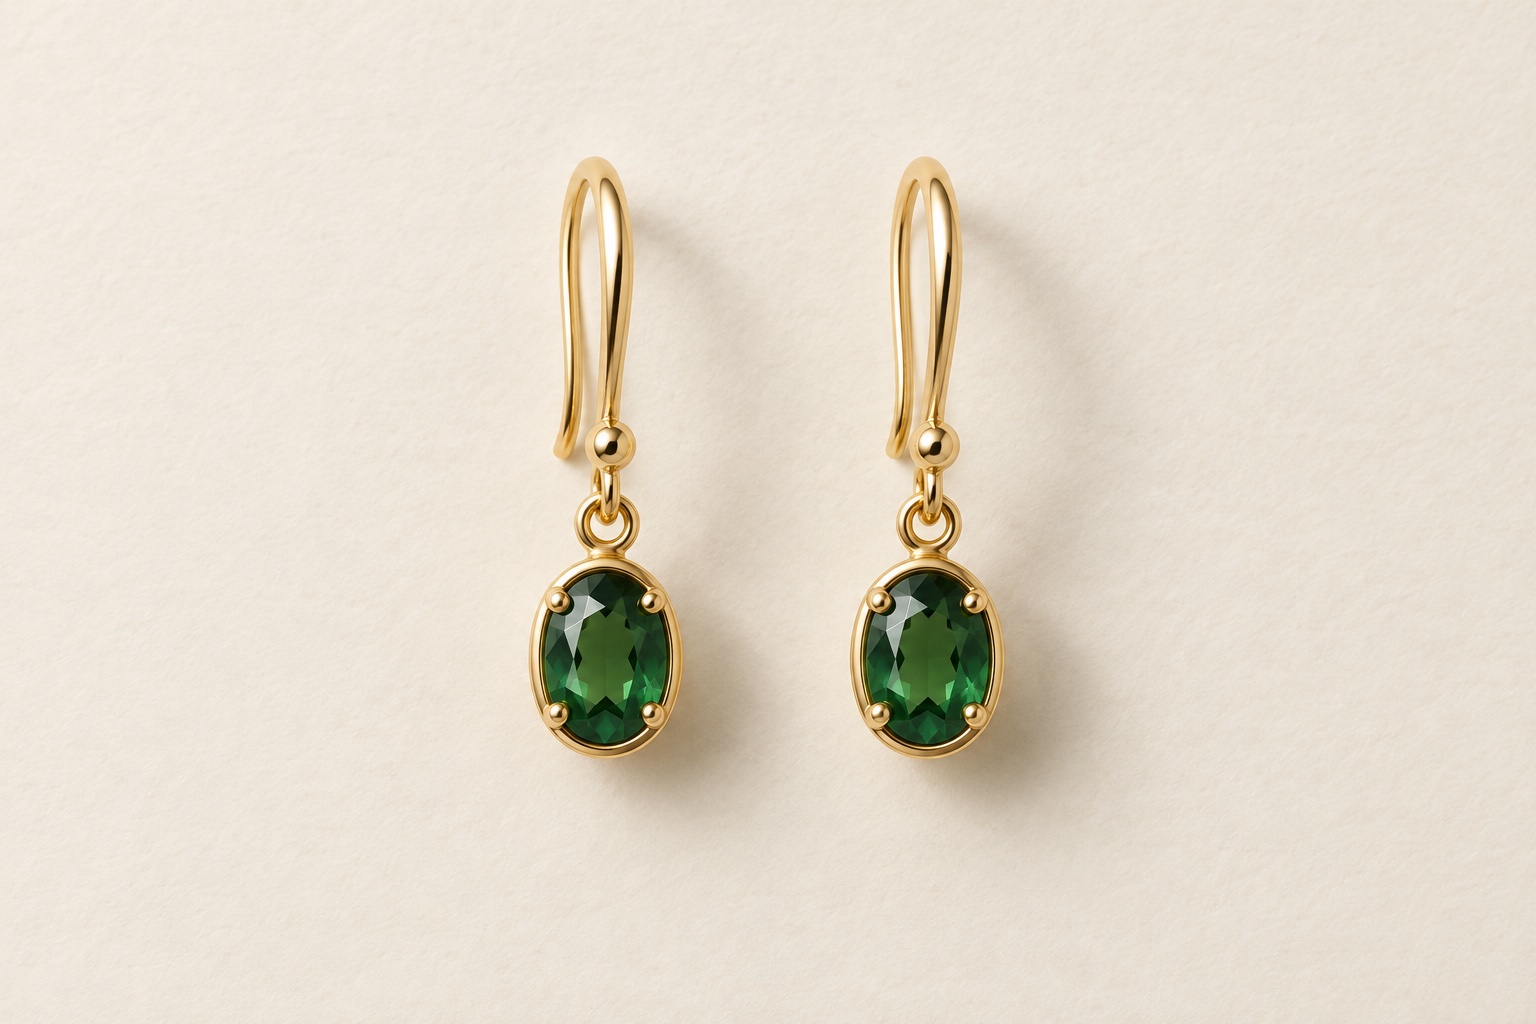
Start with what is included
An earring photograph needs to do more than show a beautiful piece of jewellery. It should help a customer understand what they will receive, how the design is constructed and which details make it different from the next pair.
For a matching pair, make the main photograph clearly show both earrings. Keep their apparent size consistent and arrange them so neither hides the other. If you sell single earrings, an asymmetric pair or a set of interchangeable parts, say so in the brief and make the product description equally clear.
Detachable drops and removable charms need particular care. A photograph of every component together can explain what is included, while a separate assembled view shows how the finished earring looks. Avoid including styling pieces that a customer could mistake for part of the purchase.
Choose an arrangement that explains the shape
The most useful arrangement depends on the design. Studs often benefit from a clear face-on view, with a second angle showing their depth. Hoops need an angle that reveals the curve and thickness without making one earring appear larger than its partner. Drops need enough space to show their full length and the connection between each element.
A perfectly symmetrical arrangement is not always the clearest one. A slight turn can reveal a sculpted edge or a layered detail, provided the pair still looks coherent. The aim is to explain the actual product rather than force every design into the same pose.
For a collection, agree a common background, direction and amount of space around the earrings. Use earlier approved photographs as references when adding new products. Read our guide to keeping product photography consistent for more on matching an existing range.
Include a useful view of the fastening
A front photograph rarely explains how an earring fastens. A supporting view can show the post and back, hook, clip or hinged closure, depending on the piece. This is especially helpful when the fastening is a feature customers ask about.
Send the actual backs supplied with the product and keep them matched to the correct pair. If more than one back is available, identify which version belongs in the photographs. Small differences can matter, and the photographer should not have to guess from a bag of loose components.
Ask for a view that makes the mechanism understandable without hiding the rest of the design. An open hinged hoop may explain the closure well, but it should accompany a clear view of the complete earring. Photography can show construction; claims about comfort, security or metal suitability still need accurate product information.
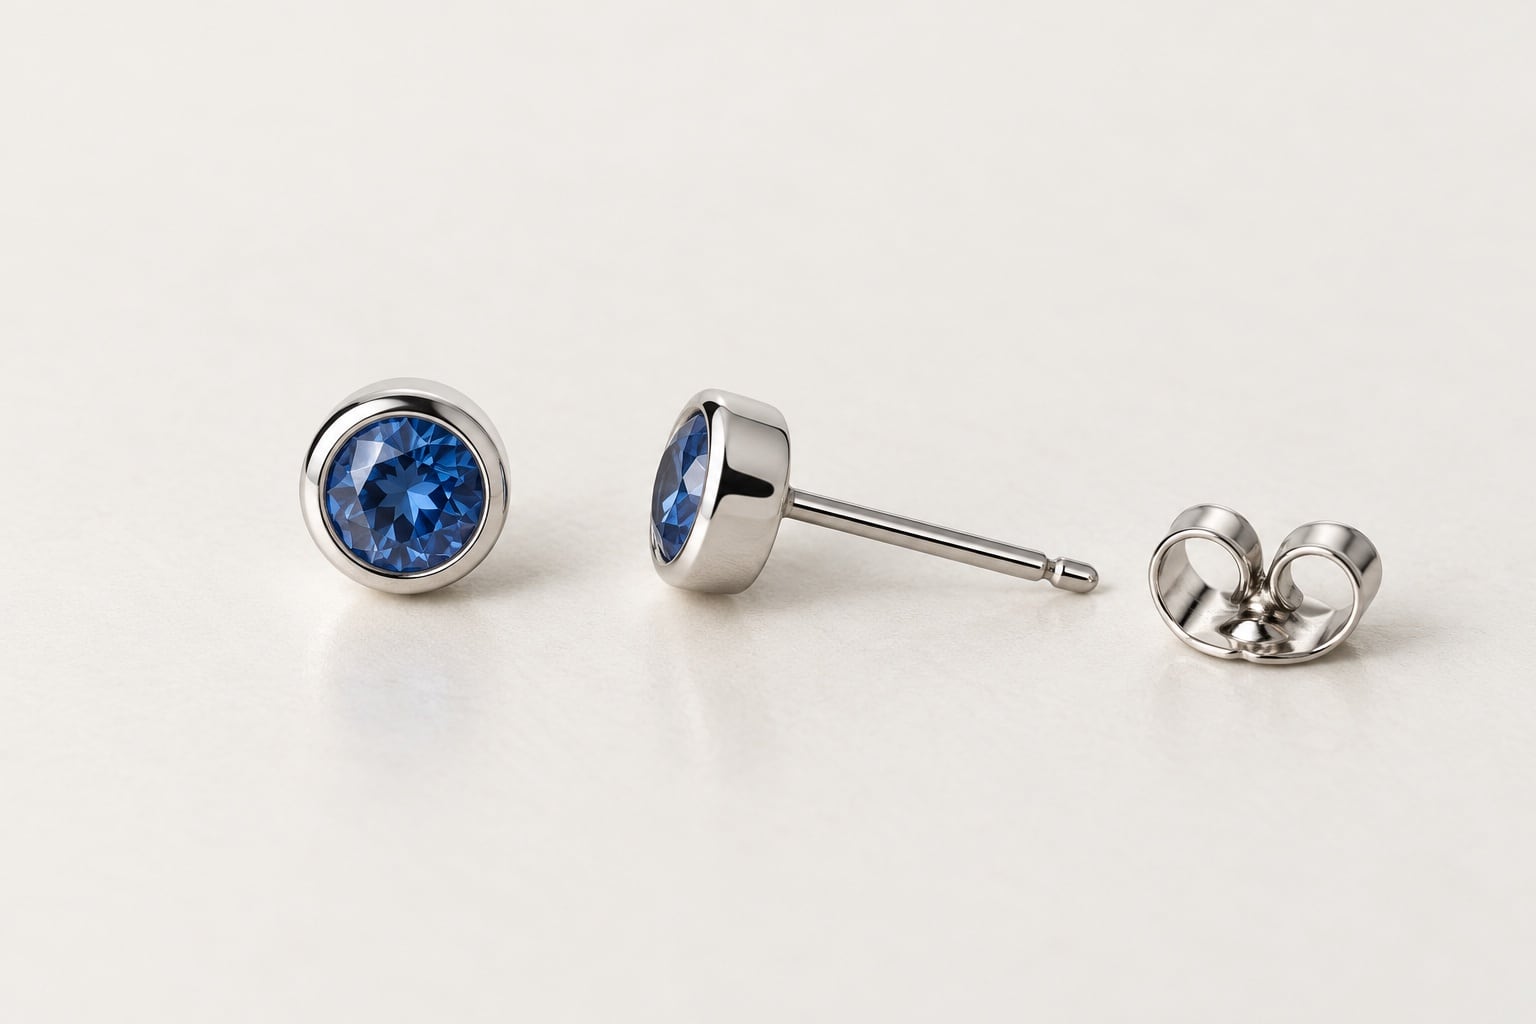
Show thickness, setting and surface detail
Choose close-ups around the details that distinguish the product: a textured gold surface, a stone setting, an engraved edge or an articulated joint. A side view may be more useful than another nearly identical front view if it reveals thickness or the height of a setting.
For gemstone earrings, discuss which details must remain sharp and visible. Reflections help describe polished metal, while controlled lighting can keep them from obscuring the design. The brief should identify the features that matter most, rather than simply requesting that everything look shiny.
Keep the finish believable. Removing temporary dust is different from smoothing away a deliberate texture or changing the apparent quality of a stone. Agree the retouching approach before the shoot, especially when different finishes appear in the same collection.
Support the photographs with measurements
A close-up can make a small stud look substantial. Give customers the actual dimensions in the product listing, including drop length or hoop diameter where relevant. Consistent framing helps a collection look organised, but it does not by itself prove that different pieces are the same size.
If showing the earrings worn would help communicate scale, discuss that separately before booking. Model images involve a different arrangement from photographing loose products. See how to show jewellery size and scale for ways to combine useful views with clear measurements.
Send a brief that keeps pairs and variants organised
List each product code, its metal finish, stone colour and whether it is sold as a single piece or a pair. Label the packaging so the studio can match each item to the shot list. Separate similar designs and include all the correct backs or detachable parts.
A useful starting brief might be:
We have eight pairs: three stud designs, three hoops and two drops. Each needs a main pair photograph on white and a supporting fastening view. The drops also need a close-up of the joint and setting. We will supply product codes, dimensions and reference images from our existing range.
Add the intended use, required file sizes and your preferred deadline. Flag any pieces that need special handling and explain whether packaging is part of the brief. If several metal or gemstone variants are involved, identify which physical samples you are sending rather than assuming one photograph will represent them all.
For an in-person drop-off, arrange an appointment first. You can also send the items by courier; letting David know when to expect them is preferable. You can arrange return collection or include a return label.
Ready to plan your collection? Explore our jewellery photography service or send David your product list and reference images to discuss the views you need.