Tell the studio what the surface should look like
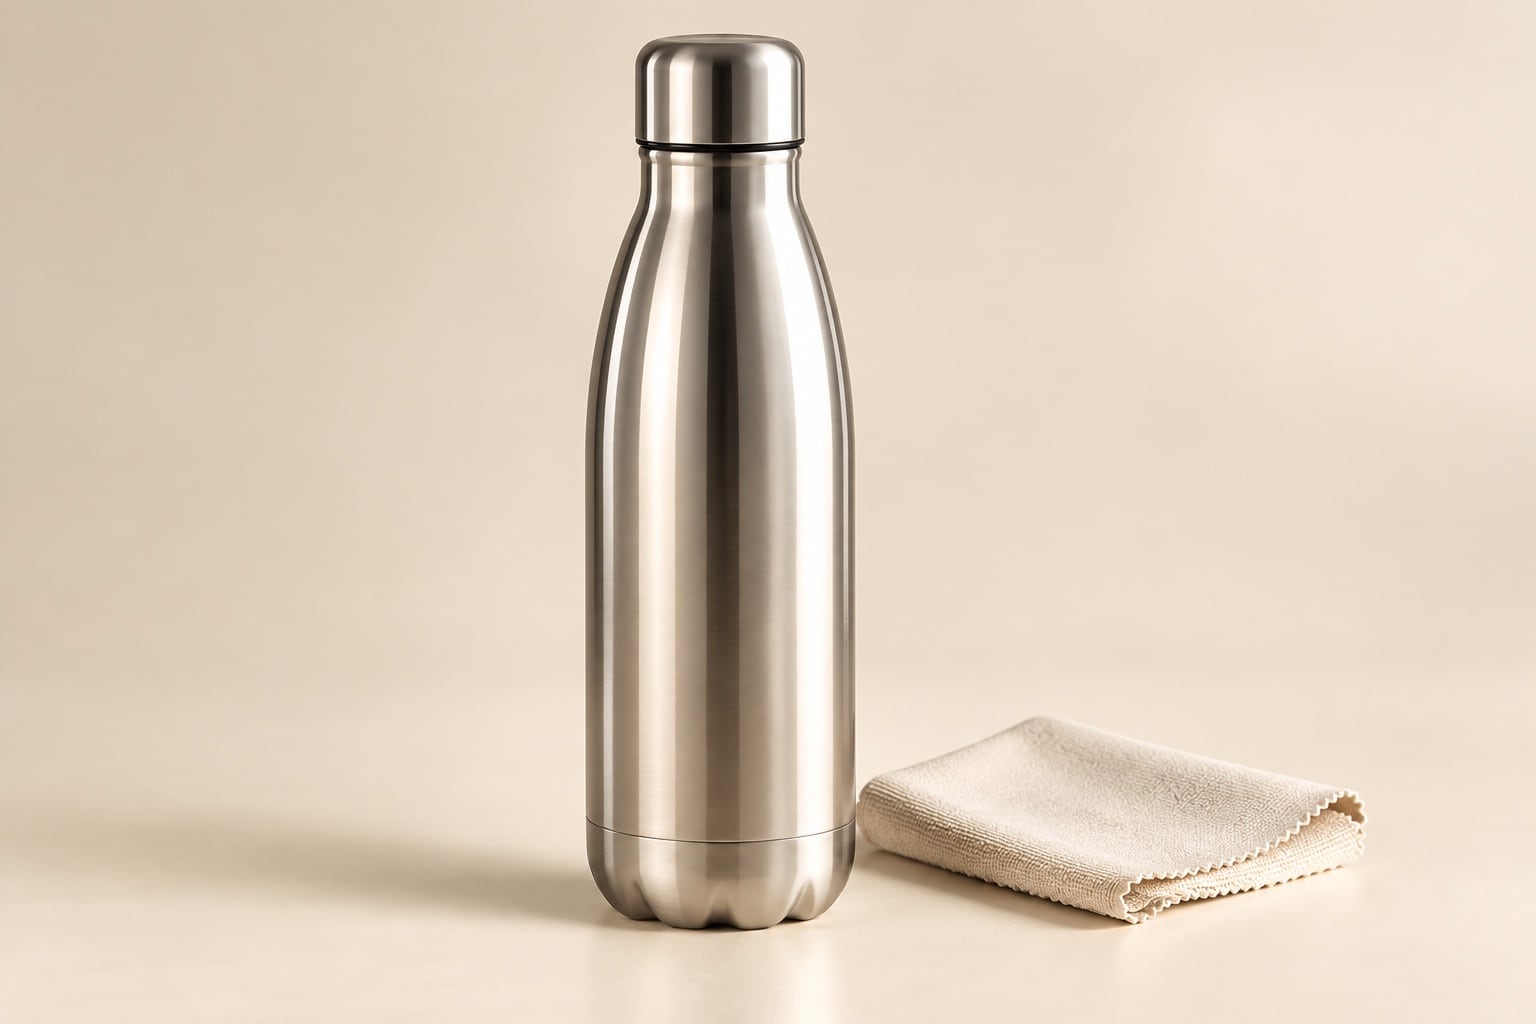
When commissioning reflective product photography, start with the finish you sell. Polished steel, brushed metal, clear glass and glossy plastic need to remain recognisable in the finished photograph. A clean image should still tell the customer what the product is made from.
Send a quick reference photograph of each finish alongside your product list. Explain whether a dark area is a coating, whether a surface is deliberately textured and which parts are transparent. A product name alone may not reveal these details, particularly when several versions share the same shape.
Separate your desired presentation from the material itself. You might want a white background and a softer shadow, while keeping the polished body and satin cap visibly different. That is more useful than asking for everything to look bright and smooth.
Ask for useful reflections, not the removal of every reflection
Changes between light and dark help describe the curve of a metal bottle or the edge of a glossy appliance. An instruction to remove all reflections can work against the shape and finish you want customers to understand.
Instead, identify what is distracting. Is a bright patch hiding the label? Is a dark reflection making a silver surface look black? Does the cap blend into the background? Supply an example and describe the problem rather than prescribing a lighting setup.
When reviewing a photographer’s product photography samples, look for similar materials. Check whether edges, curves and surface details remain clear across several views, not just one striking hero photograph.
Give the product, label and packaging their own priorities
One photograph may not explain every part of a reflective product equally well. Decide what the main image must communicate, then list the details that deserve another view.
- Main product view: show the overall shape, colour and finish clearly.
- Label or controls: identify the wording, markings or fittings customers need to inspect.
- Material detail: show an important texture, edge or surface treatment at a useful scale.
- Packaging view: show the box alongside the product when it helps explain what is supplied.
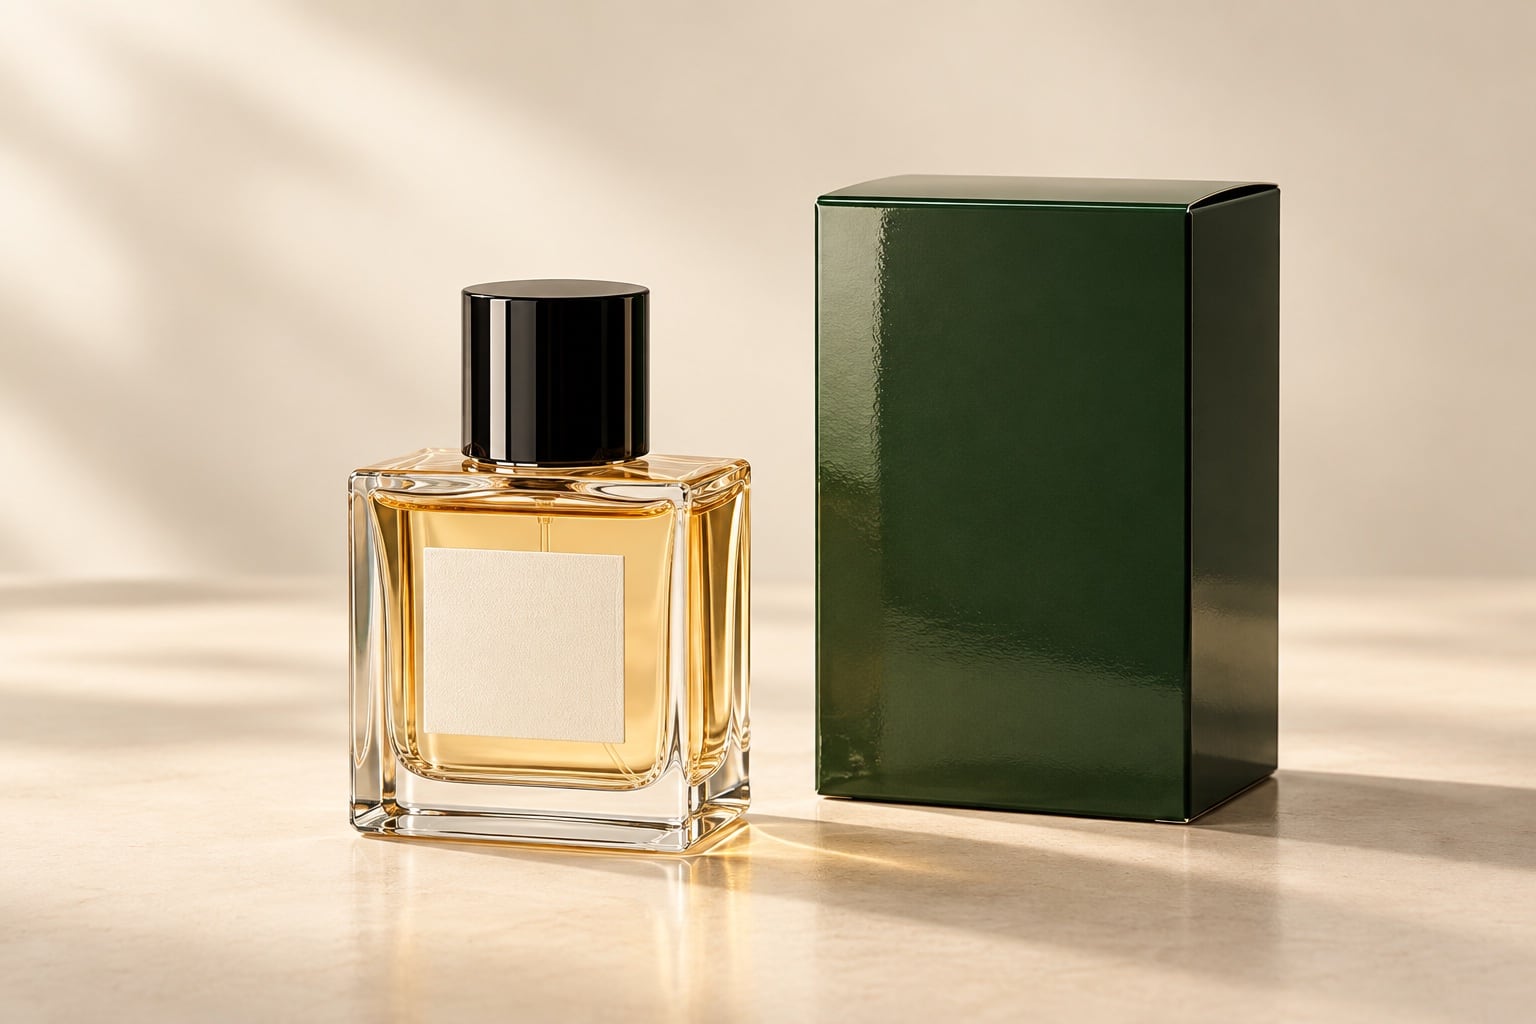
For example, a perfume bottle may need a clear front view, an angled view showing the glass thickness and a separate image with its carton. This is a planning example, not a fixed three-image package. Our guide to choosing the number of photographs helps turn those priorities into a shot list.
Choose the intended background before the shoot
Show the studio where the photographs will appear. A clear bottle on white and the same bottle in a dark campaign layout are different presentation requests. Include the intended background and crop in your references, especially if the images must match an existing range.
For transparent products, discuss the view through the object as well as its outline. Do not assume a single cutout will look equally convincing on every background. If you need several versions, list them before the quotation so the work can be assessed.
Our product image cutouts guide covers edge checks and transparent areas in more detail. Here, the useful decision is what to plan before photography starts.
Send representative samples and agree the retouching
Choose samples that accurately represent the products you will sell. Flag fingerprints, scratches, protective films and deliberate surface marks. Ask the studio how the items should be prepared; do not remove a coating or protective layer without agreeing that it is appropriate.
If you have polished, brushed and coloured versions, identify each one. A photograph of one finish is not automatically a suitable substitute for another. Explain which differences the customer must be able to see.
Agree the boundary between cleaning up temporary handling marks and altering the product. Labels, logos, proportions and defining textures should remain faithful. Explore our photo editing services if you need to discuss existing images as well as a new shoot.
For a larger collection, ask whether a representative sample image can establish the finish before the remaining work proceeds, and confirm any associated charge. Review it at normal shop-display size and close up, checking the important details against your supplied product and references.
Send a brief that makes the work easier to quote
“We have six stainless steel bottles in two finishes. We need a front and angled view of each on white, plus two close-ups showing the different surfaces. Please keep the engraved marks readable and the finishes distinct. We have attached reference images and would like to discuss a sample finish before the full batch.”
Add product dimensions, quantities, intended uses, required files and your deadline. Identify any group photographs or packaging views separately. Our quotation guide explains how the scope affects the work.
For professional product photography at our Loughton studio, send David your product list and references. You can arrange a drop-off or send your products by courier once the work has been agreed.